
89 Fox 427
Slower than promised
- Joined
- Jan 22, 2021
- Messages
- 15,255
- Reaction score
- 30,658
- Points
- 153
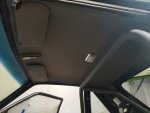
Headliner installed today. Been about 12 years since that thing was in. Still looks great, too


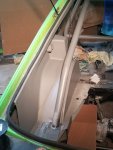
did you figure out why you were cracking the flareFront brake lines are complete. After some fuckery of course.
View attachment 28732View attachment 28731

did you figure out why you were cracking the flare

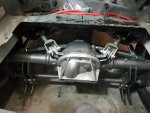

If everything is in the right spot, I prefer single adjustable. They don't change adjustment under a torsional load like the double adjustable. When the suspension articulates, it can apply enough torque to overcome the locking nuts on the control arms.Amateur tip when installing your rear end.
View attachment 28745
If you have double adjustable upper and lower control arms this is a breeze. If they are single adjustable, sell them.
Use your upper control arms to center the housing left to right. For instance, if you lengthen driver side, while shortening passenger side, it'll move the rear end to the right (passenger side).
You also use the upper control arms to adjust pinion angle as well. This is done by lengthening or shortening together. Lengthening both sides will push the pinion up, shortening will pull the pinion down.
Use lower control arms to center the wheels in the wheel well. Lengthen to move wheel rearward, shorten to move it forward.
A final assignment may be necessary to adjust thrust angle but that shit is a long ways out for me!
Dude it's a Ford with a Ford engine.. I'll be ok this time around!If everything is in the right spot, I prefer single adjustable. They don't change adjustment under a torsional load like the double adjustable. When the suspension articulates, it can apply enough torque to overcome the locking nuts on the control arms.
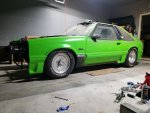
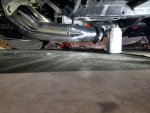

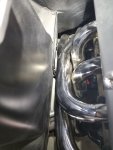
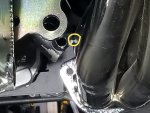
That's minor.... but... you do not have the engine and trans in the final position. That balancing act is yet to complete...
So the trans now fits into the tunnel? Done and bolting up now?
Good!!! What was the trip up?